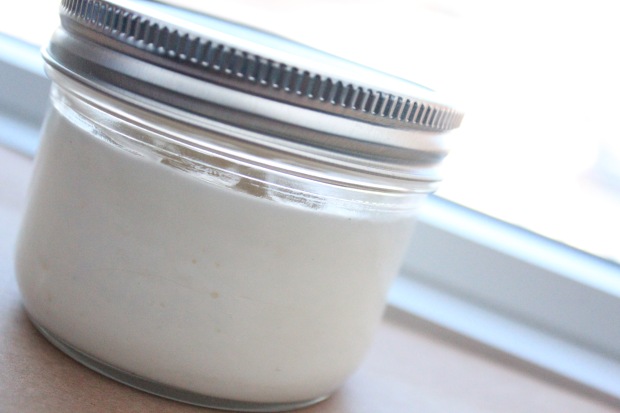
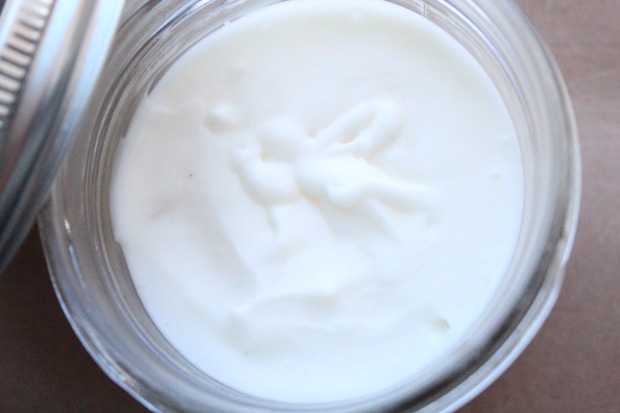
I love the Aveda Flaxseed Aloe Hair Gel, but I don’t love the price. This DIY recipe for a flaxseed gel is easy, cheap, and the result is absolutely amazing. My hair isn’t crunchy-crunchy, but it’s soft, hydrated, and well-defined. Amazing…especially considering that I paid under $1 for my little bag of flaxseeds at the bulk store! Read on for my recipe!
DIY Nail Polish Catalogue
I moved recently, and the most jarring part of it was the amount of beauty products I own and the lack of organization among them. So I picked up a new organizational item from Ikea that, once I get the inside drawers how I want them, I will be sharing here.
The one drawer that is how I want it is my nail polish drawer at the bottom. I used to keep my nail polish in a train case, but that was dark (and my collection had outgrown it), which meant that I inevitably forgot about some colours and didn’t use them. Out of sight, out of mind, I guess.
I had some free time and a cute notebook I wasn’t doing anything else with, so I decided to create an organized flipbook of all my nail polish colours. Read more!
When Life Gives You Lemons…
It’s finally starting to feel like spring in Ottawa and that’s got me in the mood for iced beverages.
Last summer was the summer of iced tea for me, but recently, I’ve been craving something different. I bought a lemon one day, and I always have strawberries in the freezer, so I decided to make my own strawberry lemonade. It’s super quick and easy, and you can make a whole bunch and put it in the fridge or just make it by the cup like I do. Read on for recipe!
How to Add Some Oomph to Your Deep Conditioner
Necessity combined with interest to create this DIY.
Curly hair is the driest, brittlest, and most fragile hair type. That’s because the shape of the curls doesn’t let natural oil from the scalp moisturize the whole strand. As a result, curlies have to up the hydration in their products to compensate. Deep conditioning is a great way to do that.
Also, I’ve been dabbling in the world of DIY beauty products. It’s fun and exciting to mix up your own creations, and then you know exactly what goes into them.
I thought I’d try a variation on the typical DIY hair mask recipe – you know, banana, avocado, egg, olive oil, mayo. I thought I’d try using my favourite deep conditioner as a base, and then adding some of those weird things to it. Read more!
DIY Whipped Shea Body Butter
Although I love my Body Shop Body Butters, sometimes I feel like using something less fragrant to moisturize my body – so it won’t compete with my perfume, or because of headaches, or just because.
Shea butter is an amazing moisturizer. It’s thick and rich and leaves skin so soft and hydrated. However, natural shea butter is quite expensive, and so thick and, well, buttery that it’s difficult to spread.
So I thought I’d try out and modify a recipe I saw from ShamelessMaya and HeyFranHey on YouTube.
The result is a fluffy, spreadable, whipped confection that smells lightly of coconuts and is incredibly hydrating. Aw yes. Read on to learn how to make your own!
How I Wash My Brushes
Washing makeup brushes is important in taking care of your face, your makeup, and the brushes themselves.
Brushes are a haven for dirt, sebum, and acne-causing bacteria. Using dirty brushes can redeposit that bacteria on your face and in your makeup, where it will breed and cause breakouts.
Ew.
DIY Bubble Tea
Despite the fact that I have lived in Ottawa for 3 years now, I still haven’t found a go-to bubble tea place that is both delicious and reasonably priced. Recently, my mom suggested that I make my own. She kindly made a trip to T&T and bought me the tapioca bubbles for bubble tea. I followed the instructions on the packet and added it to my favourite iced teas – I’m hooked on the result! Read on for the recipe!
Chiaroscuro: How to Contour and Highlight
All my artists out there, you know what’s up.
The fancy term is from my grade 9 art class. Chiaroscuro means creating strong contrast between light and dark.
In the makeup world, the way to do that is with contour and highlight. Contouring means creating dark areas that appear to recede, usually using a bronzer or contour product (in cream or powder form). Highlighting uses a light or shimmery product to make certain areas of your face ‘pop’.
The usual way to do this is by contouring your cheekbones, temples, and jawline. I then like to highlight my nose, cheeks, and Cupid’s bow.
Here’s a step-by-step of how I like to do it, complete with weird faces! Read more!
The At-Home French Mani (+ Community’s baaack!)
I’m not sure French manicures are even still “in”, but I like them so who cares. I remember the first time I went to the salon in elementary school and got my nails done. I also remember that it was expensive – most salons charge $5-10 extra because this technique requires extra time and patience. Today, I’m going to show you how to skip the salon and still get gorgeous results.
Read more!
DIY Ombré (or Sombré) Hair!
So about a week ago, I decided I wanted to sombré my hair. Sombré is a more up-to-date variant on the ombré trend, where the s stands for ‘subtle’ or ‘soft’. Instead of a harsh brown-to-blond transition, sombré entails brown-to-lighter-brown. I’m cheap and crafty, so I figured I’d do it myself.
Hair background: my hair was unprocessed. I had dyed the underside of my hair purple (and later, blue) before I chopped it all off about four years ago. That was the only time I dyed my hair, and then, I got it done in a salon.
To decide whether I really could do this or not, I watched approximately 42 million YouTube videos (approximately) of girls ombréing their hair with the L’Oréal Wild Ombré kit. (The most helpful one was this one.) From these videos I concluded that I could probably do it and achieve the result I wanted, which was chocolatey/caramely brown tips that fade into my nearly-black natural hair.
Now, the photo on this kit is absolutely terrifying. I didn’t want that result. Her hair looks scary. It’s all orangey and there’s a line where the ombréness stops and her natural hair starts. No. Bad. This is what I wanted to avoid.
And I did!
Read more!


